文档:https://docs.github.com/cn/developers/apps/building-oauth-apps/creating-an-oauth-app
https://docs.github.com/cn/developers/apps/building-oauth-apps/authorizing-oauth-apps
最近研究了下第三方登录和 GitHub OAuth ,下面来记录一下 GitHub OAuth 的接入与使用
关于如何创建 OAuth 应用程序 和 如何授权 OAuth 应用程序,其实 GitHub 官方文档里面已经说的很清楚了。
只不过,关于创建这一块,按文档的说明来还是比较清晰明了的,大部分人都会。但后面这一步,如何授权 OAuth 应用程序,就多少有点麻烦了,尤其是涉及OAuth 2.0的部分,看起来就更让人头大。故笔者也在此记录一下心得,总结下自己的使用感受和教训。
创建 OAuth 应用程序
首先是创建部分的坑,或者说心得。
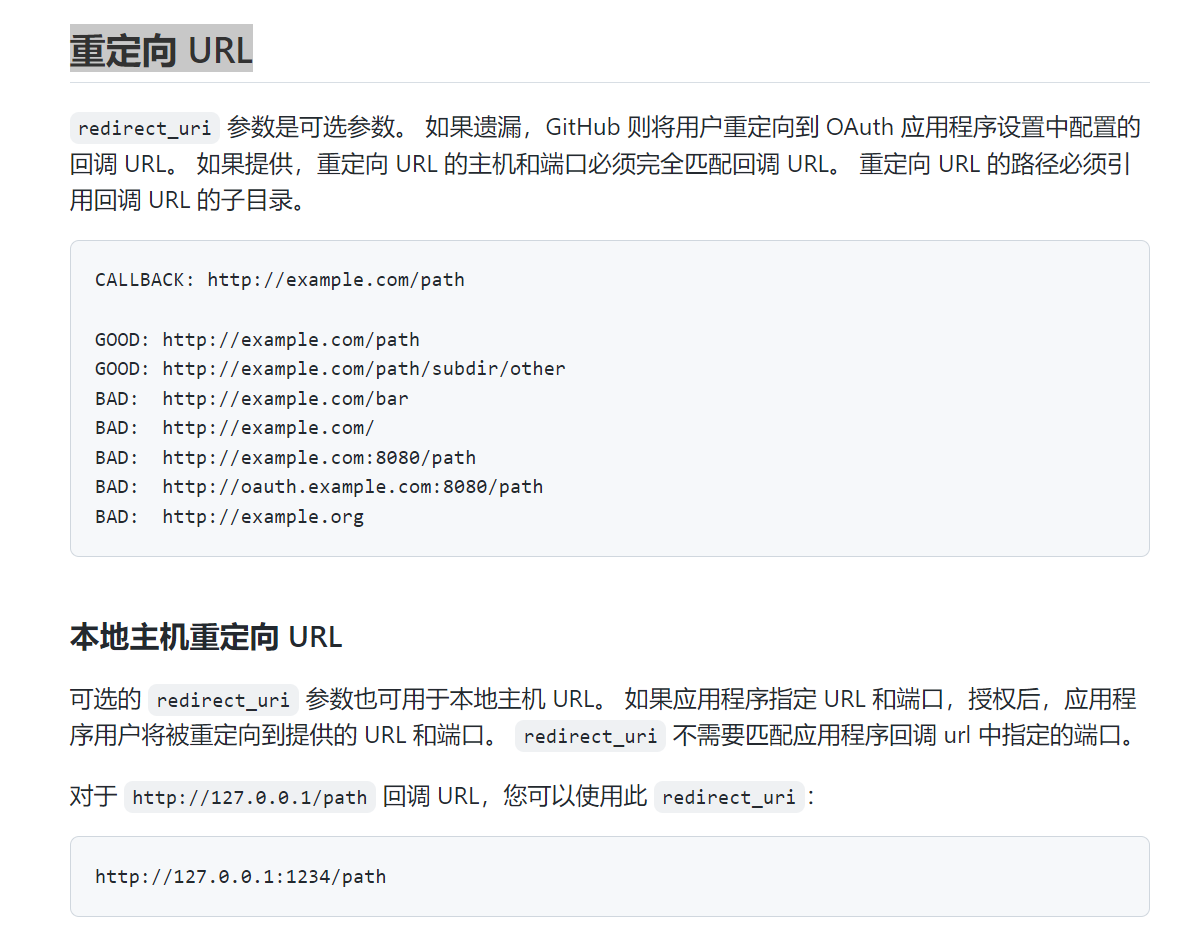
在 重定向 URL 中,官方已经指出,如果是线上的,则 重定向 URL 的主机和端口必须完全匹配回调 URL,重定向 URL 的路径必须引用回调 URL 的子目录,但如果是本地的,则 不需要匹配应用程序回调 url 中指定的端口
所以在开发阶段,为了方便本地调试,可以把应用的**“Authorization callback URL(授权回调 URL)”**设置为本地 URL,避免重定向问题。
授权 OAuth 应用程序
接下来就是接入 GitHub OAuth 的关键了。
为了实现这个过程,我们需要一个前端和后端。
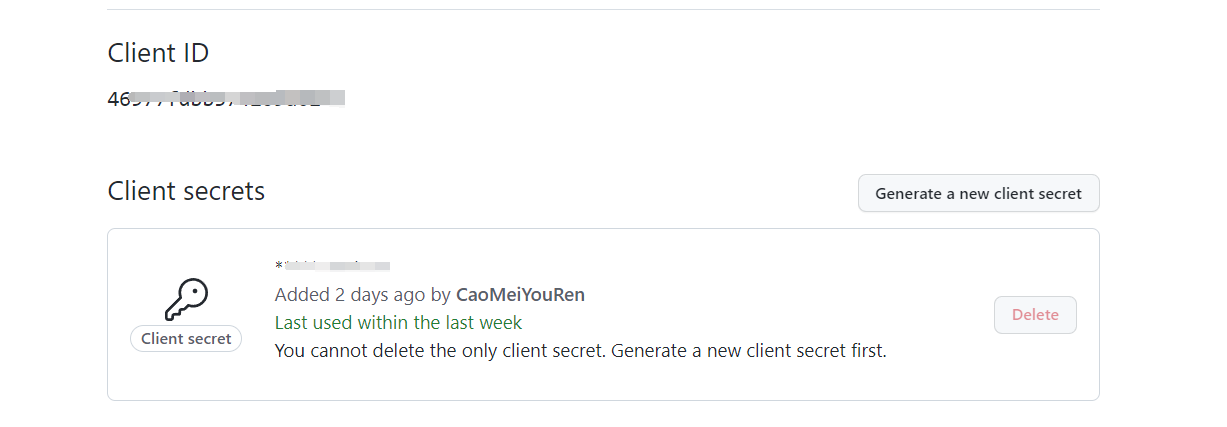
在创建应用后,我们就可以拿到一个Client ID 和 Client Secret,要注意的是, Client Secret只能放在后端,千万不能放在前端,是需要保密的,不能泄露。
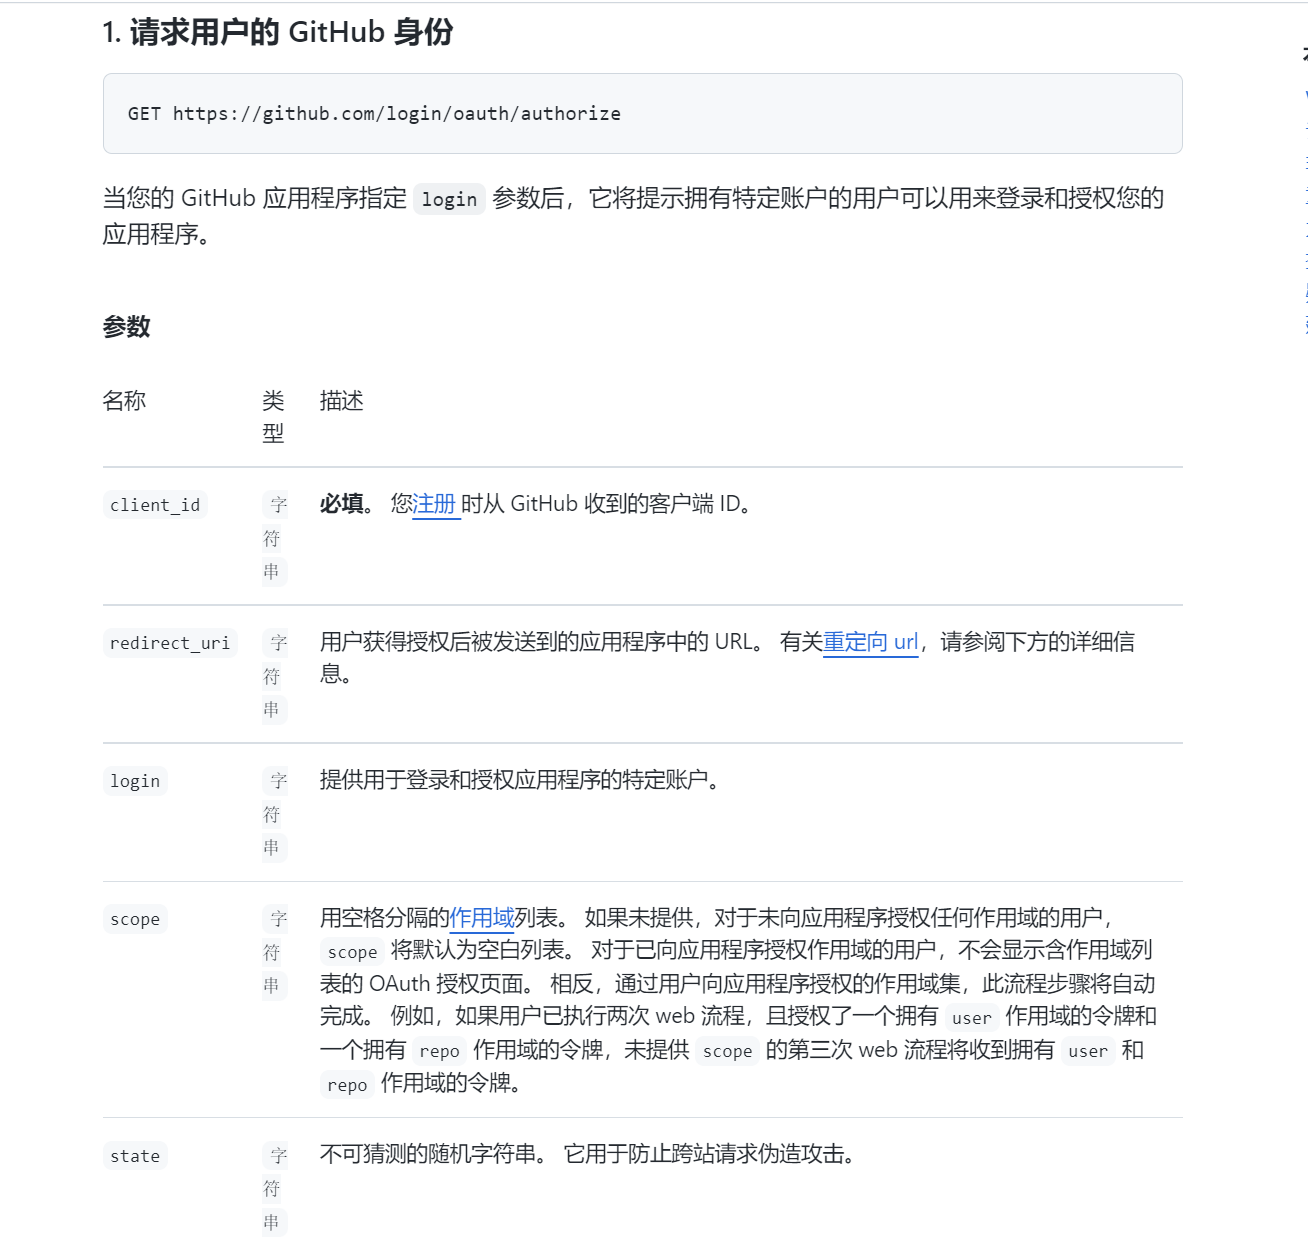
随后,在前端就可以向 https://github.com/login/oauth/authorize 接口请求用户的 GitHub 身份。
参考写法如下:
type GithubOauthAuthorizeData = {
    /**
     *
     * 提供用于登录和授权应用程序的特定账户【可空】。注意,经过试验后,这里要填的是 GitHub 用户名,这样跳转之后会向用户建议登录该账号。
     */
    login: string
    state: string
    redirect_uri: string
}
export function githubOauthAuthorize(data: GithubOauthAuthorizeData) {
    const query = new URLSearchParams({
        ...data,
        client_id: 'GITHUB_CLIENT_ID',
        scope: '',
        allow_signup: 'true',
    })
    const url = `https://github.com/login/oauth/authorize?${query.toString()}`
    window.location.href = url // 直接跳转
    // 或 window.open(url) // 或者另外开窗口
}
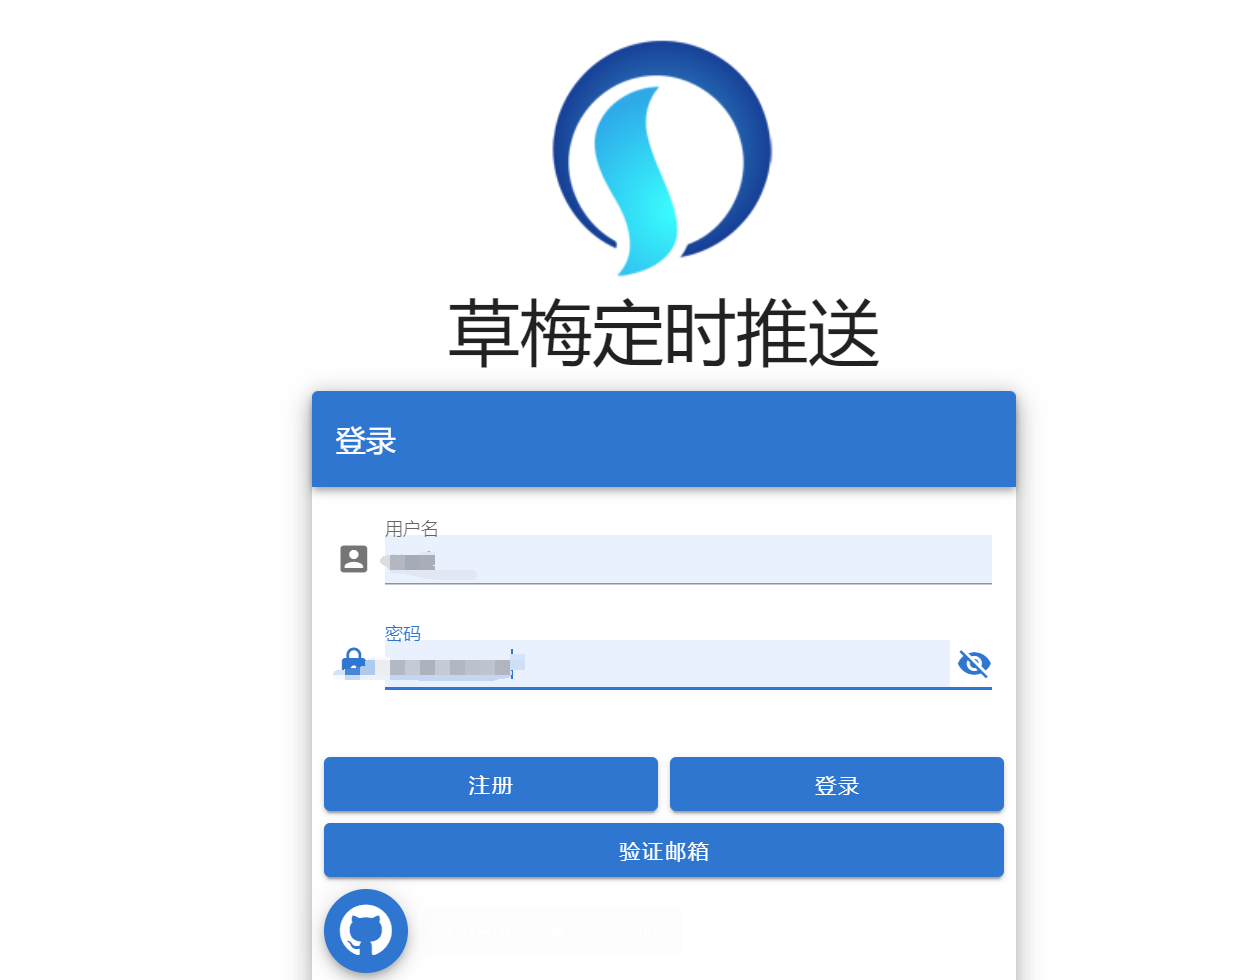
在前端合适的位置放置按钮,并绑定该函数。
在这里需要重点说明下 redirect_uri(重定向 URL)。
当用户接受请求,GitHub 将会重定向回该 URL,同时在 URL 的查询字符串中传入参数 code和state。
例如:
http://localhost:3000/?code=xxxxxxxxxxxxxxxxxx&state=abcdefg
其中 code 就是我们需要的参数,有了这个就可以去申请 access_token,然后再去获取用户信息。
至于 state,是用来防止跨站请求伪造攻击的,只要校验下即可。
这里也需要注意,拿到 code 之后不要在前端去申请 access_token,因为要申请 access_token需要用到 client_secret, 前面也说了,client_secret(客户端密钥)是不能泄露的,所以应该将 code 传给后端,由后端来继续后面的步骤。
接下来到了后端部分,参考代码如下:
import axios from 'axios'

type GithubAccessTokenData = {
    client_id: string
    client_secret: string
    code: string
    redirect_uri: string
}

type GithubAccessTokenResponse = {
    access_token: string
    scope: string
    token_type: string
}

export async function getGithubAccessToken(data: GithubAccessTokenData): Promise<GithubAccessTokenResponse> {
    return (await axios({
        url: 'https://github.com/login/oauth/access_token',
        method: 'POST',
        headers: {
            Accept: 'application/json',
        },
        data,
    }))?.data

}

export async function getGithubUserInfo(token: string): Promise<any> {
    return (await axios({
        url: 'https://api.github.com/user',
        method: 'GET',
        headers: {
            Authorization: `token ${token}`,
        },
    }))?.data
}
个人建议在申请 access_token 的时候配置 Accept为 application/json,毕竟 json 格式对 js 来讲好处理很多,其他语言也类似。
然后是根据access_token 去获取用户信息,返回的结果类似于这样:
{
    "login" : "CaoMeiYouRen",
    "id" : 123456,
    "node_id" : "xxxxxxxxxxxxxxx",
    "avatar_url" : "https://avatars.githubusercontent.com/u/40430746?v=4",
    "gravatar_id" : "",
    "url" : "https://api.github.com/users/CaoMeiYouRen",
    "html_url" : "https://github.com/CaoMeiYouRen",
    "followers_url" : "https://api.github.com/users/CaoMeiYouRen/followers",
    "following_url" : "https://api.github.com/users/CaoMeiYouRen/following{/other_user}",
    "gists_url" : "https://api.github.com/users/CaoMeiYouRen/gists{/gist_id}",
    "starred_url" : "https://api.github.com/users/CaoMeiYouRen/starred{/owner}{/repo}",
    "subscriptions_url" : "https://api.github.com/users/CaoMeiYouRen/subscriptions",
    "organizations_url" : "https://api.github.com/users/CaoMeiYouRen/orgs",
    "repos_url" : "https://api.github.com/users/CaoMeiYouRen/repos",
    "events_url" : "https://api.github.com/users/CaoMeiYouRen/events{/privacy}",
    "received_events_url" : "https://api.github.com/users/CaoMeiYouRen/received_events",
    "type" : "User",
    "site_admin" : false,
    "name" : null,
    "company" : null,
    "blog" : "https://blog.cmyr.ltd/",
    "location" : "中国",
    "email" : null,
    "hireable" : null,
    "bio" : "主攻ts/js/vue,前端工程师,B站搜草梅友仁",
    "twitter_username" : null,
    "public_repos" : 198,
    "public_gists" : 0,
    "followers" : 17,
    "following" : 5,
    "created_at" : "2018-06-20T12:50:51Z",
    "updated_at" : "2022-08-03T08:18:05Z"
}
然后跟本地的用户进行一个绑定即可,这里要注意的是,GitHub 用户的 id 是唯一的,用户名 login是可以修改的,所以应该跟 id建立关系。
到这一步就算完成了整个 GitHub OAuth 的对接,拿到用户数据之后要怎么做就是自己的事情了,看项目需求即可。
- 本文链接: https://wp.cmyr.ltd/archives/access-and-use-of-third-party-login-with-github-oauth
- 版权声明: 本博客所有文章除特别声明外,均采用 BY-NC-SA 许可协议。转载请注明出处!
欢迎关注我的其它发布渠道


发表回复
要发表评论,您必须先登录。